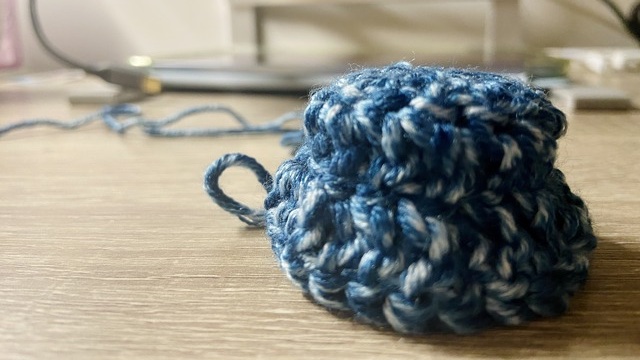
A Beginner to Crochet
I first got introduced to crochet in a math ed course. My classmate, very farmiliar with crochet, gave a demo class as her final project. In that demo, I was able to build off of stiches pre-made by my talented classmate and make a hyperbolic shape. Spent most of the time training myself about how to do stiches in crochet, I did not attend to mathematical ideas in that process. Yet I do have a vague idea of why such hyperbole emerged: I was in a group “1:2” meaning building two stiches into one previous stich, so such hyperbole is more like the result of squeezing extras in 2D space into 3D space.
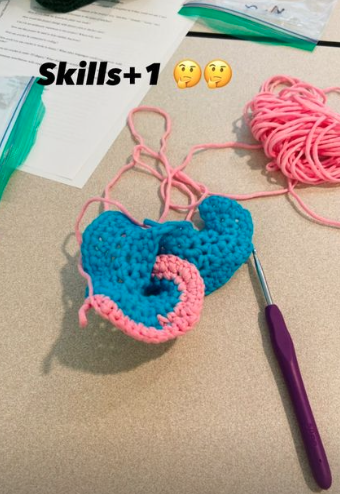
Recently, I have more free time. So I got some yarn for myself and began crocheting as my daily ‘meditation’ time. Now that I have no one but myself, I was forced to learn from scratch – I learned how to build the base chain and practiced different types of stiches. The good thing is I still have the old hyperbole crochet in my hand. So occasionally when I got lost from the YouTube videos or want to check my work, I would go back to this old piece. While being eager about crocheting some interesting shapes, I quit after a few try because the horrible control I have on yarn, hook, and my hand. I decided my best next move would be practicing some foundation stiches (down left).
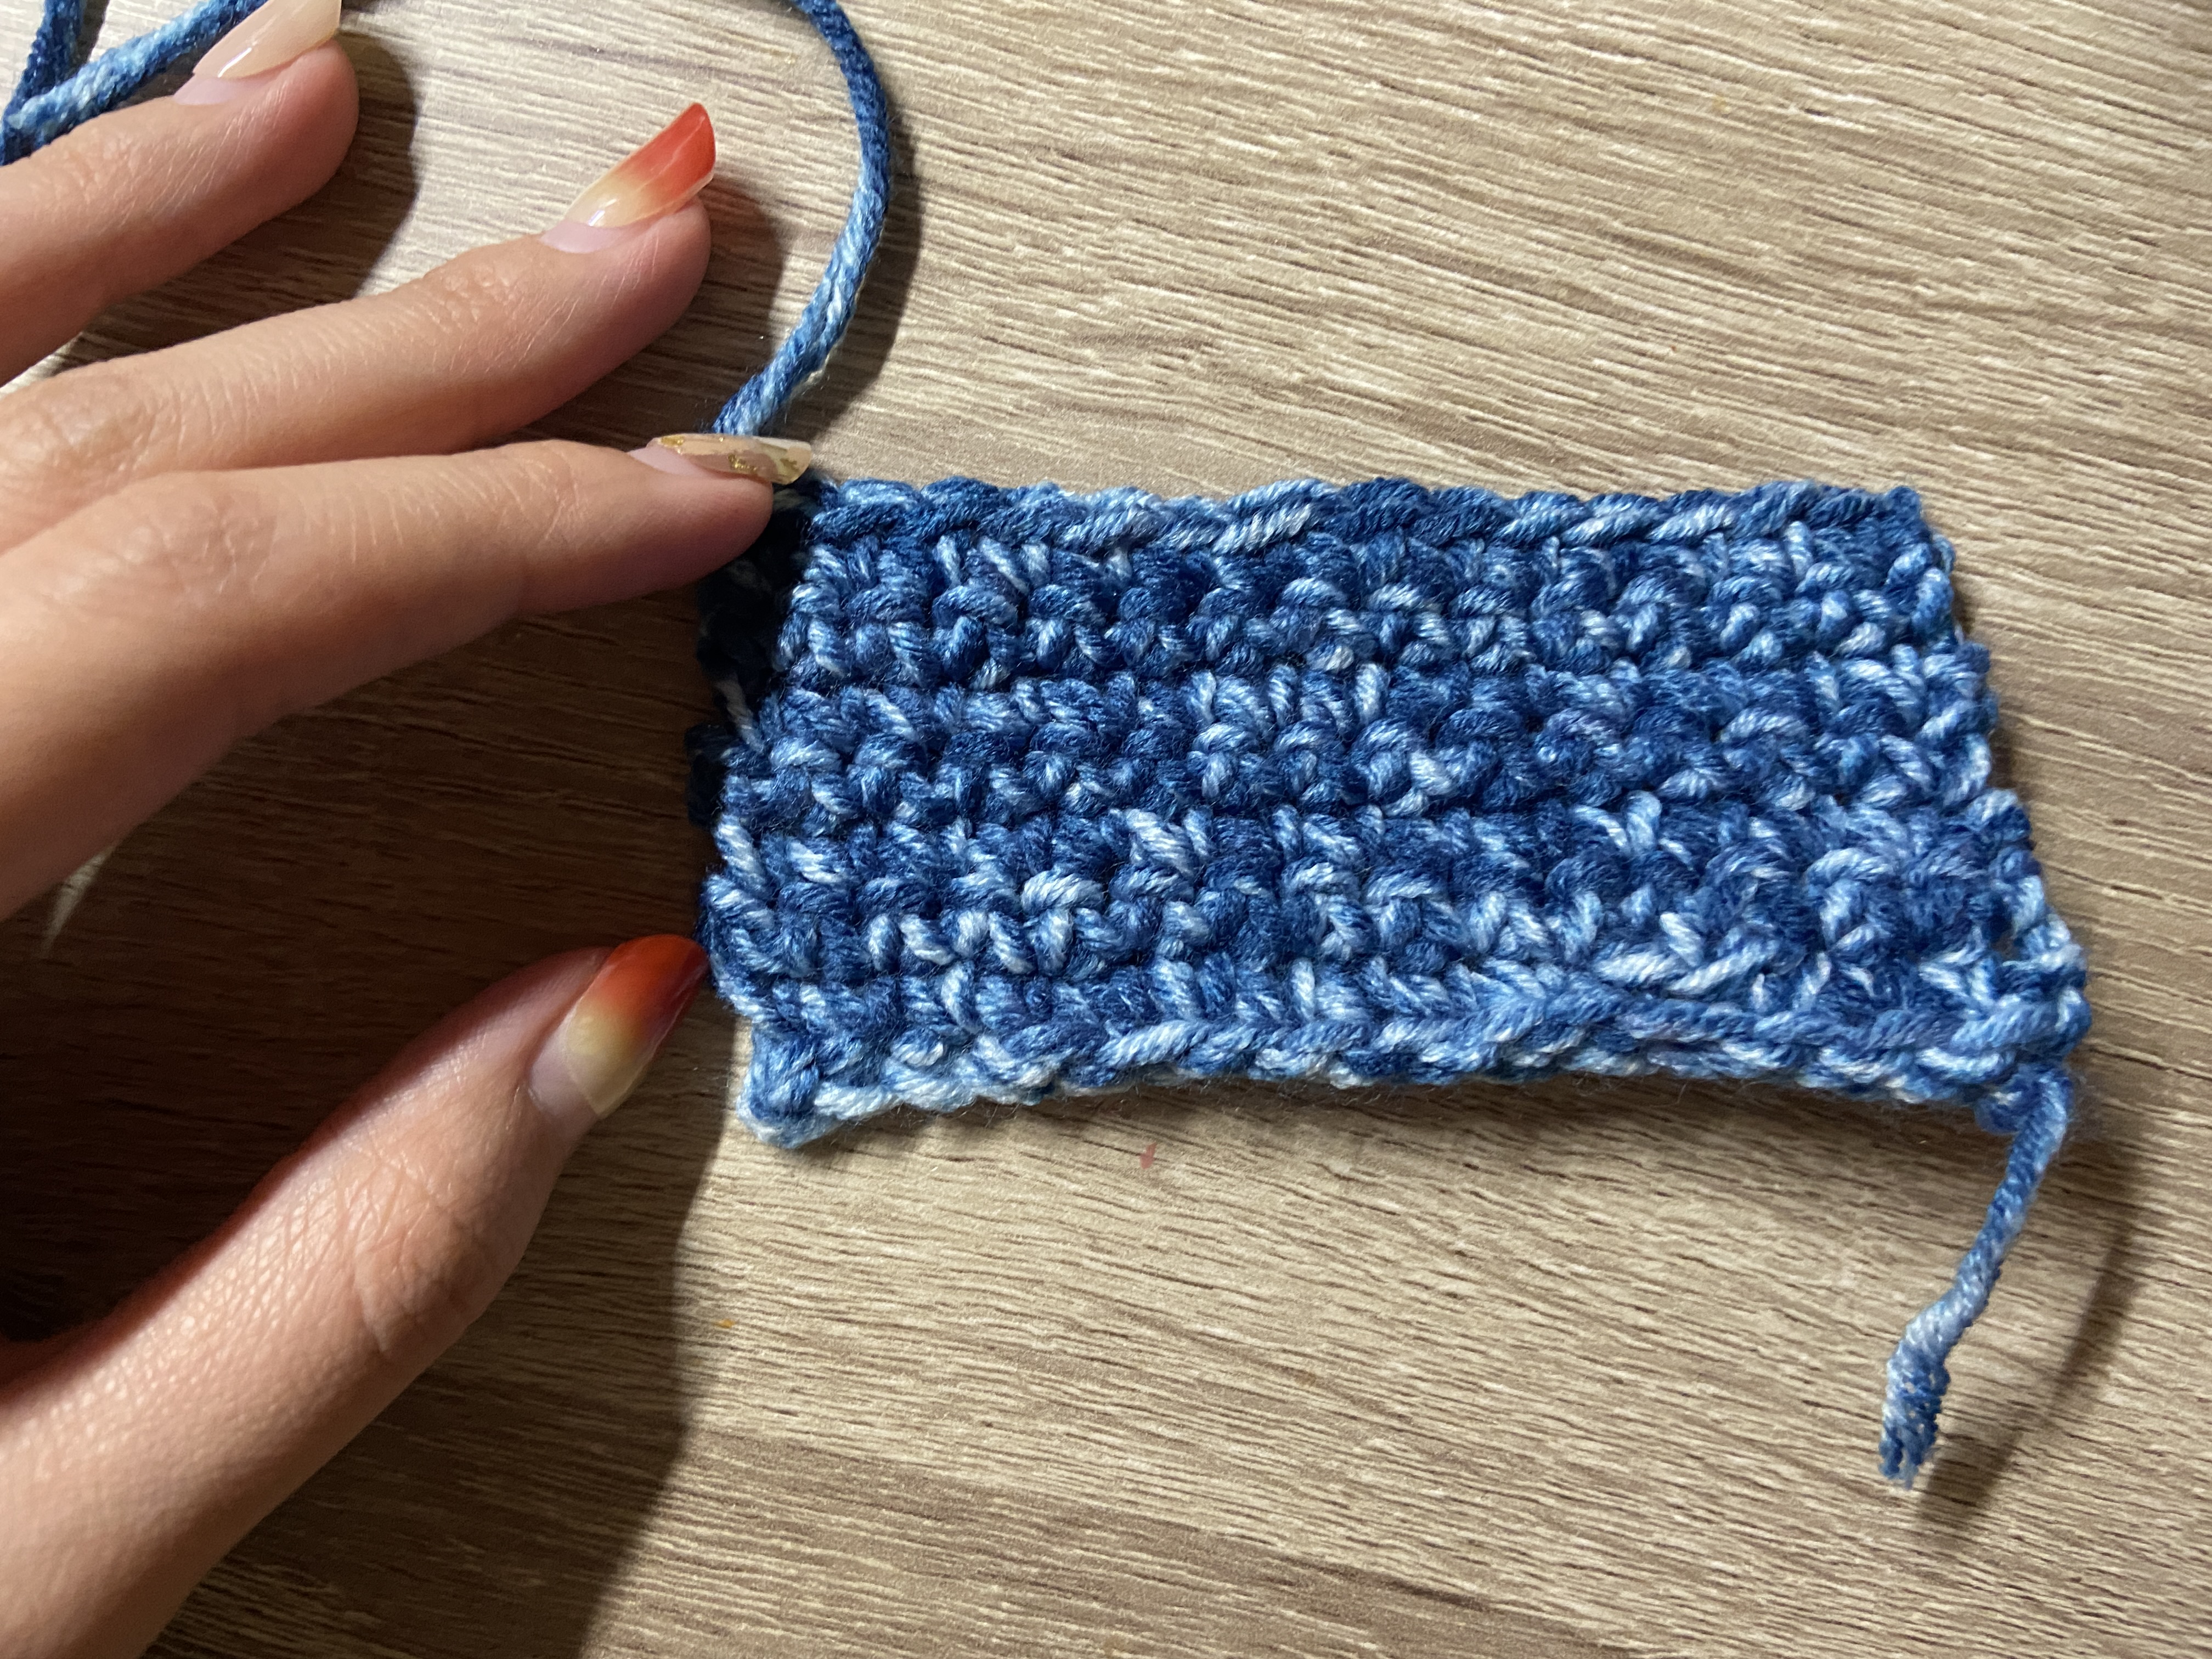 | 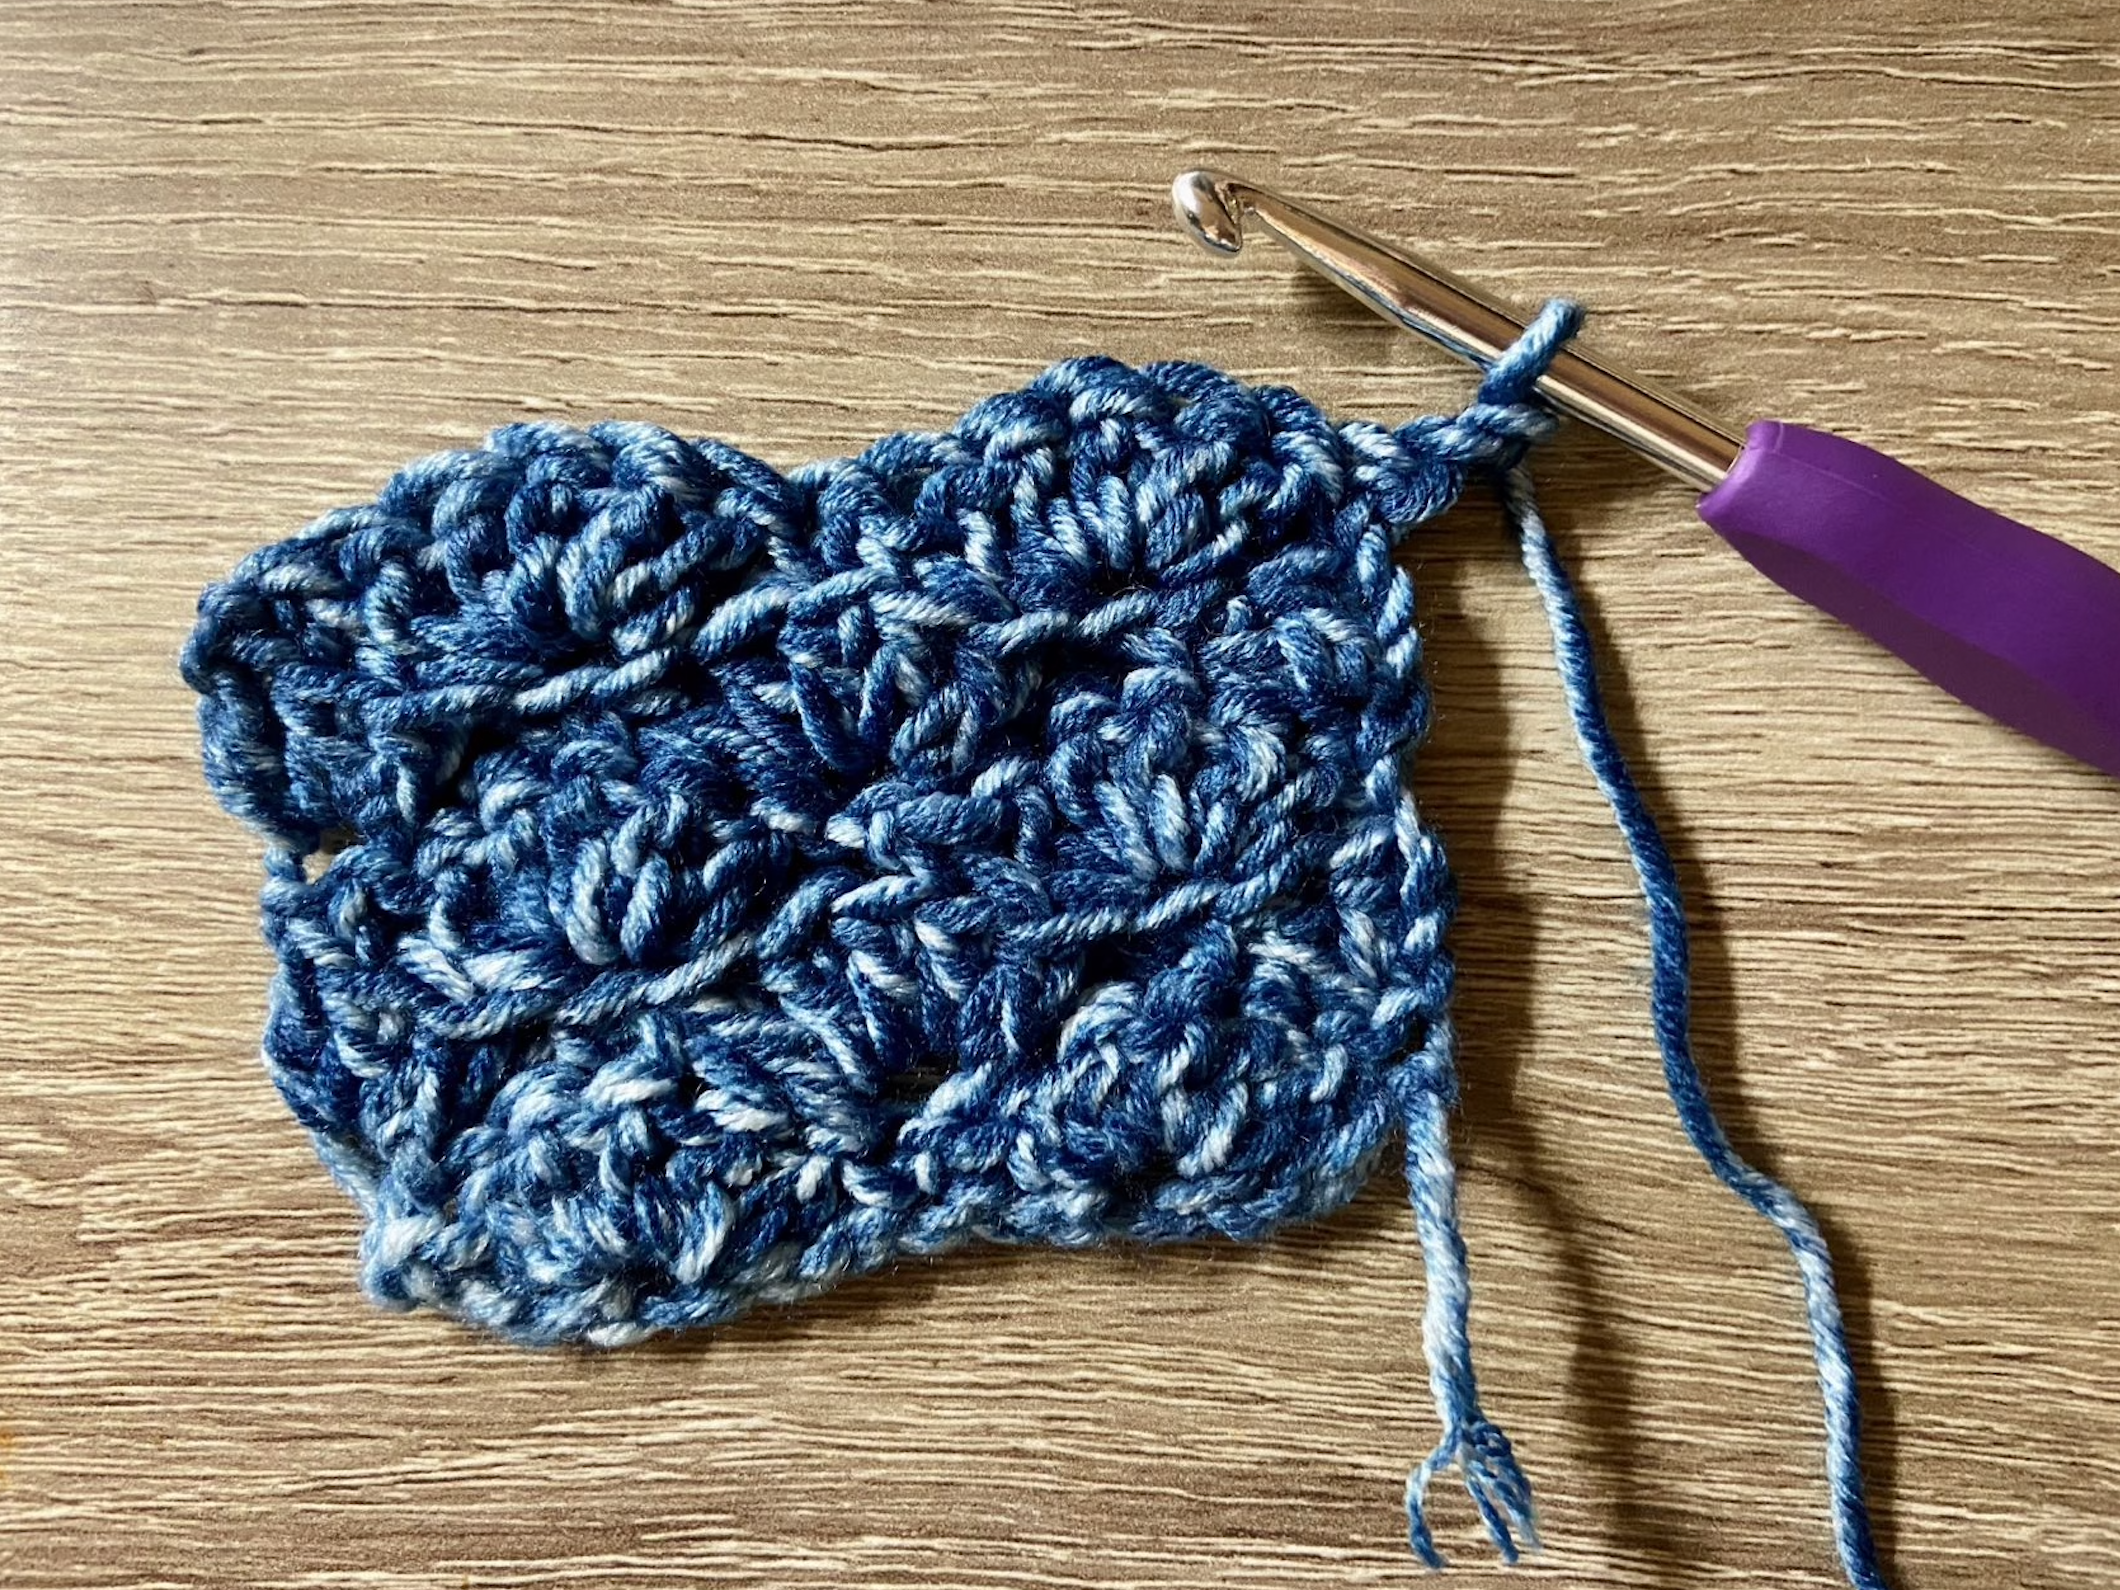 |
Upon practicing, I became familiar enough with terminologies like “yarn over” and “double crochet.” I also tried some more exciting patterns like shell stitch and alpine stitch. I found the shell stitch (upper right) interesting because building multiple stitches into one existing stitch did not end up squeezing up a hyperbole as I thought it would. It turns out that shell stitch made a flat rectangular shape because although five double crochet need to go into one chain, by alternating numbers of double and single crochet that go into one chain and skipping existing chains, the number of chains for each row can always maintain 6n+2. Hence, crocheting multiple times into one chain did not overly take up space in 2D but filled the 2D space with a lovely pattern.
Crochet a Circle and Some Mathematical Thinking
With some confidence, I began to look for more interesting things I could make – flowers, heart shapes, and circles.
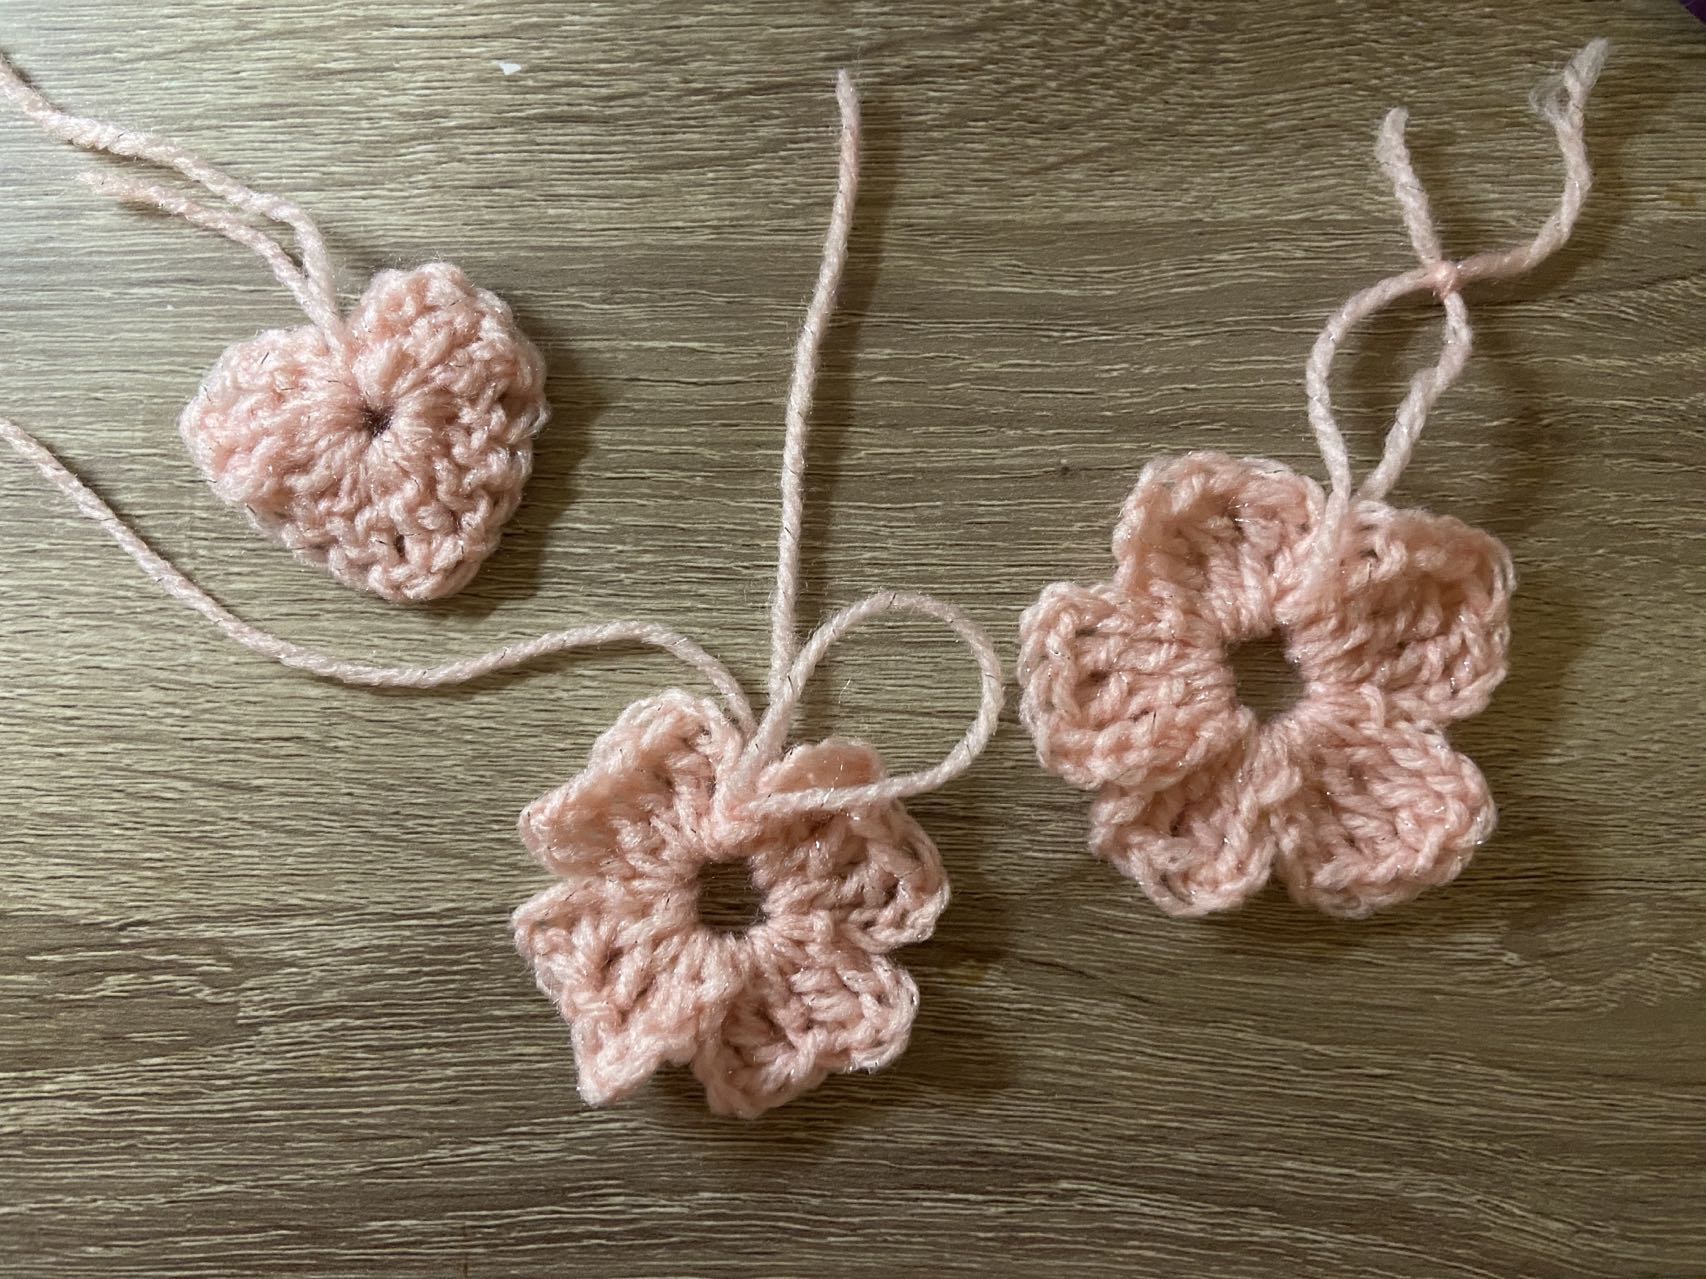
Crocheting a flower started off confusing. I start with a slip knot and build petals into this knot. It didn’t look like a flower like the one below until I tightened the slip knot, and the petals squeezed out the shape. However, this process and the process of building heart shapes modeled one way of making shapes in crochet. Take one petal as an example; chaining three out of and into the slip knot becomes the outer line of the petal and triple crochet in between fills in the petal in the middle. Similarly, since single crochet, double crochet, and triple crochet are different in length, crocheting into the slip knot with reduced length will create a heart shape. Of course, I need to make sure the decreasing pattern goes symmetrically. Realizing this, instead of building three triple crochets into one petal, I changed it into two triple crochets on the side and one double crochet in the middle. As expected, this created a wave-like shape on the edge of the petal (up middle)!
Next, I moved on to doing a circle. I felt very comfortable building stitches into a hole/loop while crocheting the flowers. Probably because I was too confident, I only watched the beginning of the tutorial video [1] and started my work. Similar to a flower, a circle is developed by a row (more like a round, marked in red) – the first round is building into a slip knot, the second round is building onto the edge of the first round, and so on.

I did not put on my math learner hat at the beginning. So I crochet the second round by building to two treple crochets into one chain as modelled in the video, and then crochet the third round by two into one as well. It might be hard to tell from the pictures, but the end result, being weridly squzzeded up a bit, is not very satisfied. It is neither a flat circle, nor as beautiful as a hyperbole. I paused and started to wonder what went wrong. At that time, I was still assuming that a circle is expanded in crochet following the rule of two building into one. To understand the reason behind this ‘rule,’ I began some mathematical thinking:
Since the crochet stitches did not change, that means radius is increasing by the same amount on every round. Let’s assume the inner first round circle to have radius r. Then the radius of the first round should be 2\( \pi \)r and the second round should be 2\( \pi \)2r=4\( \pi \)r. In this case, it made total sense why two stitches goes into one. This is for us to double the circumference. Think about it from the ratio perspectice, first round : seocnd round = 1:2 –> two stitches goes into one.
What about the third round? Circumference for the third round will be 2pi3r=6pir. Second round: third round = 1:1.5 –> 1.5 stitches goes into one. First, this resolved why my circle is squeezing up a little bit – that tendency of going into 3D is a visualization of the difference between 1:2 and 1:1.5. Then, as I tried to redo the third round, I considered: No one will build 1.5 stitches into 1, as far as I know, there is no such thing like 1.5 stitches. Ratio-wise, it is equivalent to building three stitches into two chains. Translating to the crochet language, I decided to build two stitches into one and one stitch into one alternatively. That way, each group would be building three stitches into two.
I restarted the video to see the tutorial for the third round and saw that instead of explaining with ratio, the author claimed the process to be “increasing stitches by 12 at each round.” This framing is also correct if the inner circle is built with 12 stitches. Also, if we go by 1:2, 2:3, and 3:4 as we expand the circle, it will increase by 12 stitches each time. However, using the ratio gave me more freedom with the number of inner stitches I started with. No matter how many stitches I built into the inner loop first, I can always figure out the number of stitches for my next round and how such a ratio can be achieved (using equivalent fractions).
What other things did I end up doing?
Following the thoughts of expanding circle with ratio, I wonder what will happen if I expand on ratios other than those mentioned above.
- 1:1 If I crochet one stich to each chain, then the circumference will stays the same. Where would the extra second round of triple crochets go? The answer is it goes upward to make a cylinder!
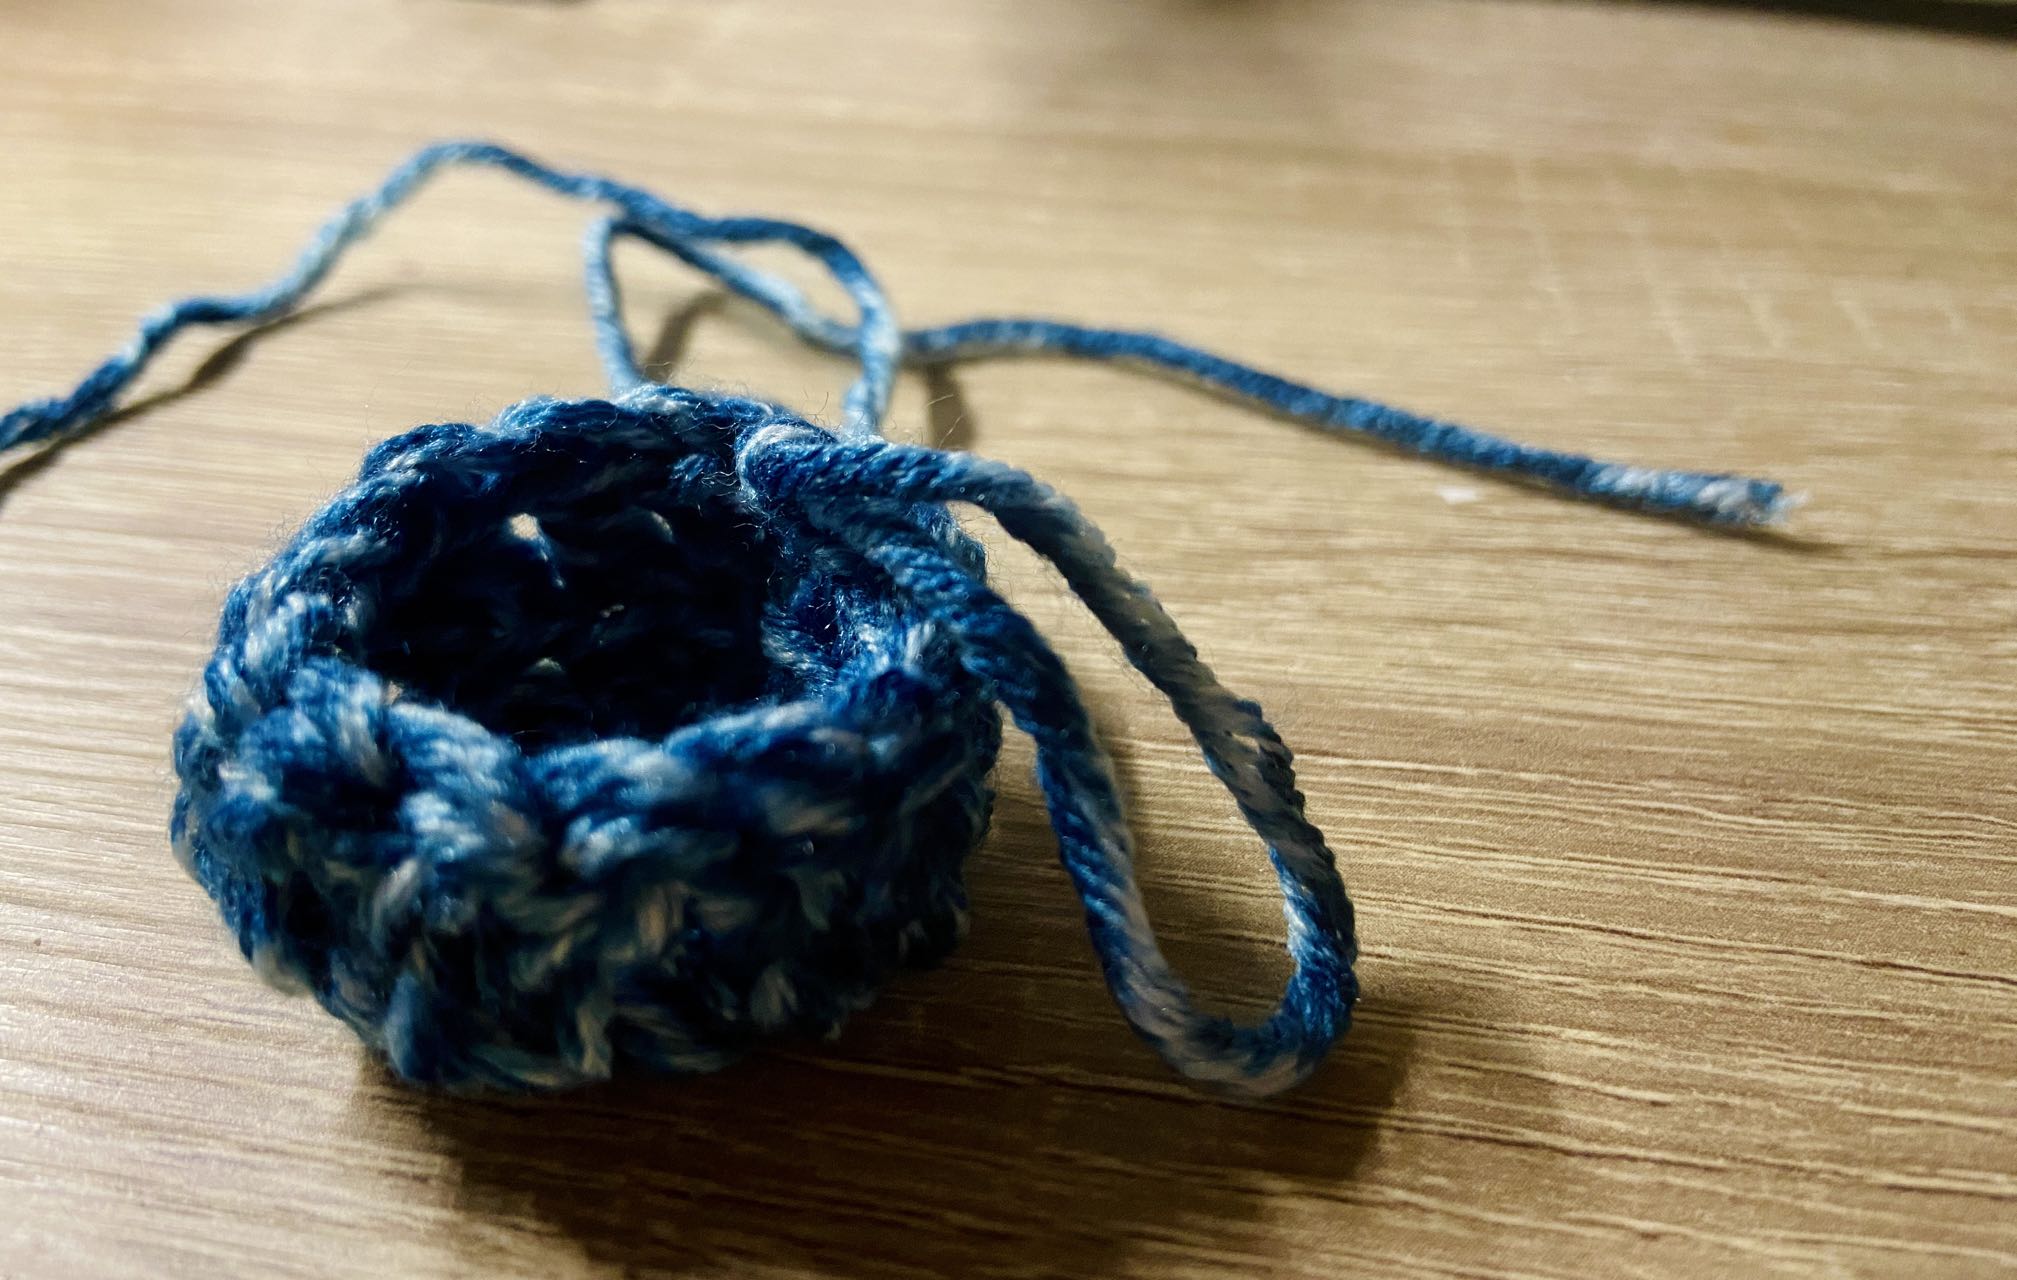
Continue building off the cylinder, I explored another two 3D shapes.
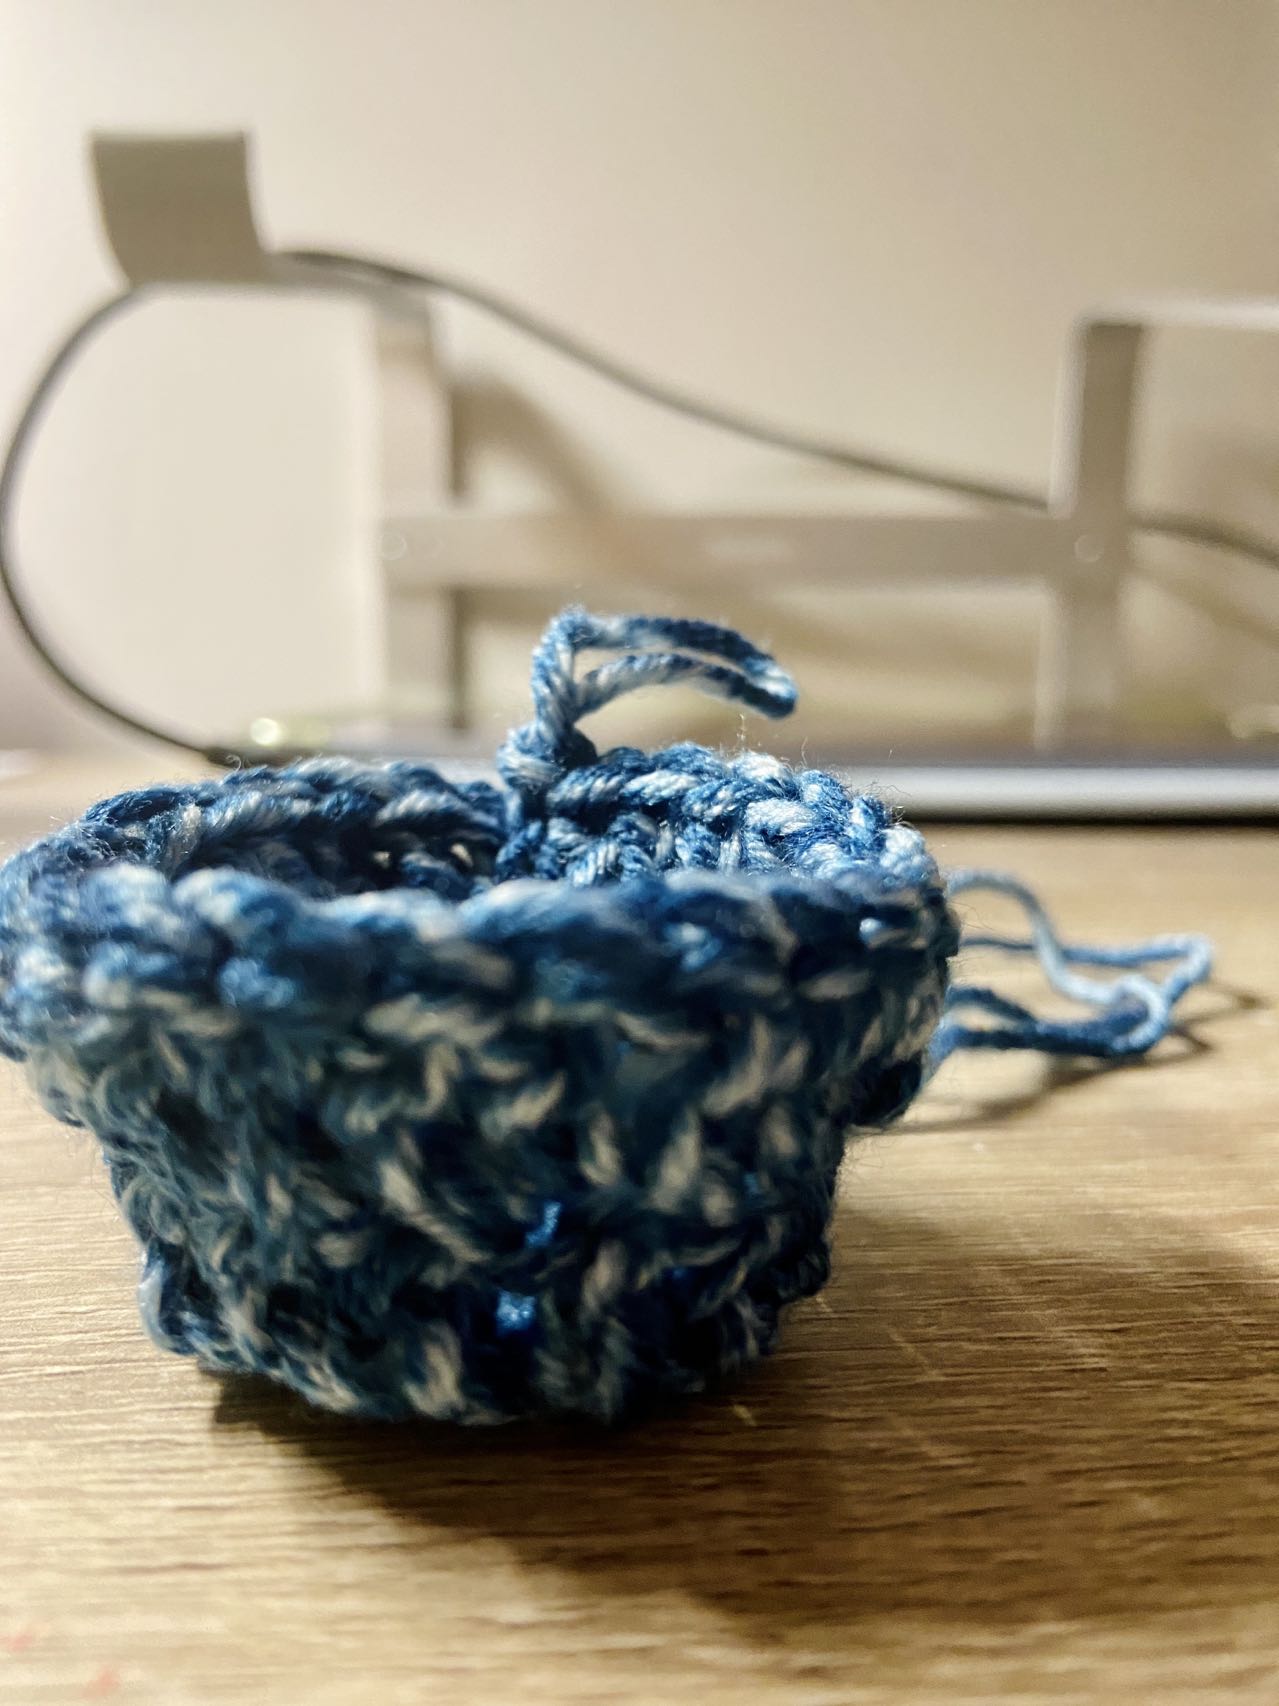
- 1:1.5 following 1:1 The next layer increased circumference from 12 to 18. Instead of making the cylinder taller, this crochet step build a frustum of the cone. Or, turning it over, it is a hat!
 |  |
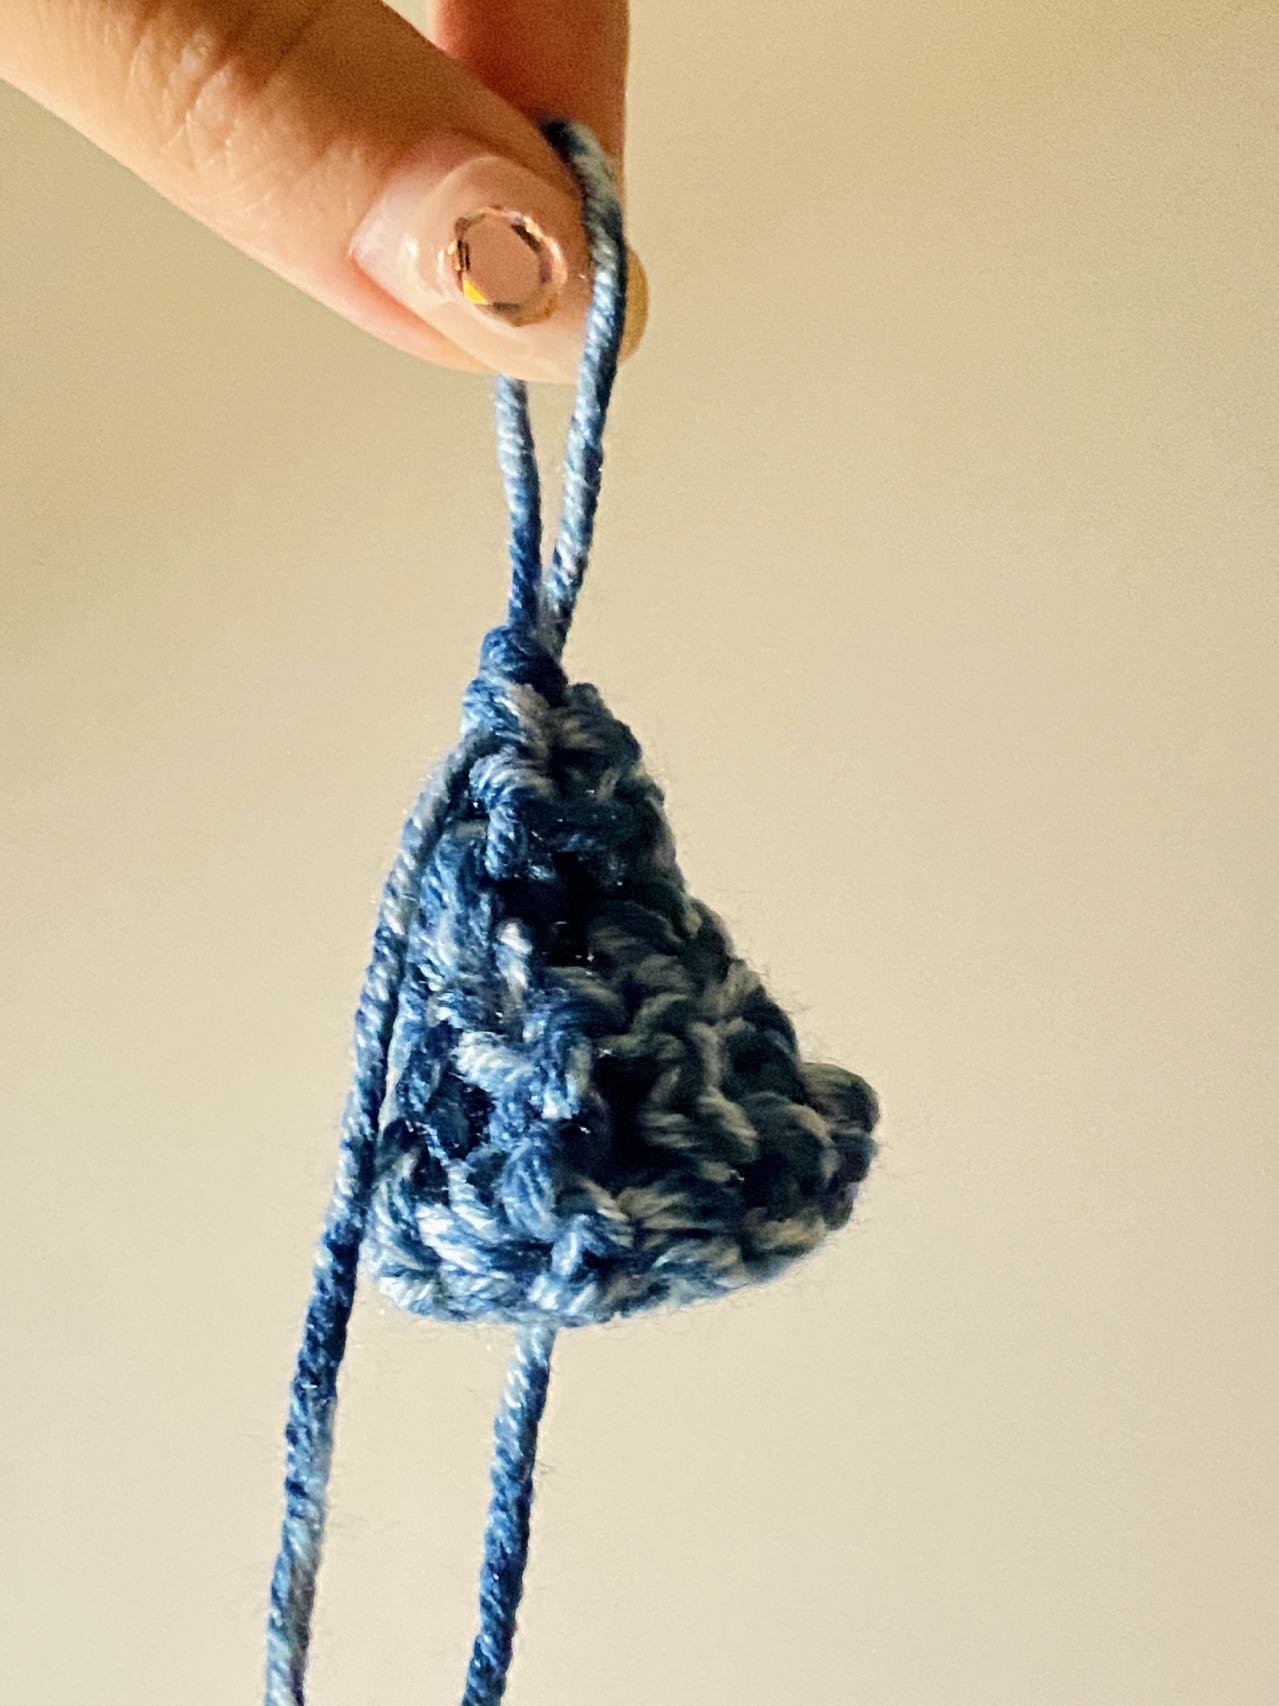
- 1:0.5 This ratio will quickly shrink the inner circle down to one point and get to a cone.
Overall, this is just the start of my crochet journey, and there is a lot ahead I plan to explore. Interesting math ideas are embedded within crochet, including circles, ratio, and equivalent ratio/fractions. Trying to crochet a cone with a certain angle will also involve trigonometry. Another thing worth noting is I probably would never have thought deeply about ratio and its relationship with crochet stitches if I had just followed the tutorial video and done it procedurally. Sometimes, a little lack of information prompted me to think further. If I were to build crochet into any learning activity, providing insufficient information instead of step-by-step directions would probably be an interesting design principle to follow.
Reference:
